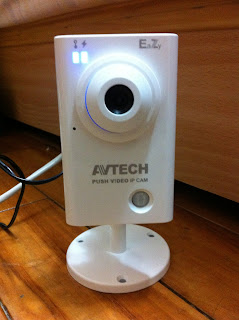
 After half a year in Taiwan, I want everyone to meet my new home guardian, Push Video IP camera. :)
A few days ago, my roommate’s boyfriend brought this camera to us and told us this camera was suitable for us to watch our home, and we could get this camera for free (approx. NTD 3,800) if we could write a post describing how we felt about this camera, before, during and after the installation, both good and bad. This event is held by its manufacturer. Cool!
I heard that I could use it to monitor my home and receive messages to see video on my iPhone or other smart phone if something happens, which might be what my roommate and I need now because we got robbed last month and we lost our money, cameras, and notebooks.
My roommate’s boyfriend called the police and found that the thief might enter from the window by breaking the iron window. Check below. How could it be possible from such a small hole! And we checked the CCTV cameras in our neighborhood but found nothing.
We also found the clothes and fingerprint of the thief (how dare he!!), but the police just couldn’t find any related criminal record related to the fingerprint.
If this camera is good, then it'll be a really good solution for us.
Anyway, three of us starts.
----------------------------------------------------------------------------------------------
 |
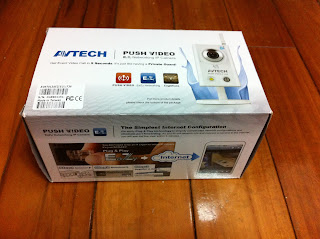
Here’s the camera box.
Good: Looks simple and clear.
|
 |
You can find the introduction of the camera main feature, Push Video, on the other side of the box.
Bad: There’re too many words. I don’t like it personally, but my roommate says it’s ok and clear.
|
 |
It seems you need this app, EagleEyes, first to see camera images from
iPhone, iPad or Android phones. We’ll find out how later. |
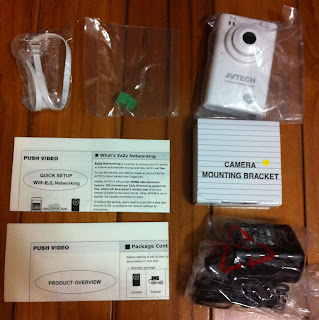
Let’s open the box and see what’s inside.
 |
There’s a quick setup guide. This camera can do quick setup with iPhone and iPad?
We’re really interested. |
 |
Under the quick setup guide, you can see and camera itself and other accessories.
|
Here’s the whole package content:
 |
The camera itself, one camera bracket, one network cable,
one adapter, one CD, and one green accessory. |
 |
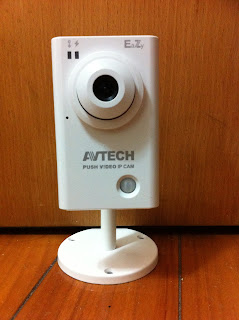
Here’s the front view of the camera.
Good: It’s quite small and light, and we all like the white cube design.
|
 |
Here’s the backside of the camera. You can see the network port and power jack.
As for the green port, we tried the green accessory in the box and they fit!
Will check the guide and see if there’s any explanation for it. |
 |
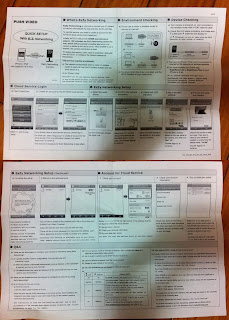
Here’s the quick setup guide of the camera, describing how to connect this camera to Internet
with iPhone and iPad. |
My roommate’s boyfriend checked the content and said it’s ok to follow the instructions because we have set up a wifi network in our home.
He also said if we didn’t have a wifi network, we would have to download the complete instructions from www.surveillance-download.com/user/n801.swf as the quick setup guide said.
“Complete instructions?” Sound hard. Hope we can successfully finish the setup with iPhone.
 |
Here’s the website for downloading the complete instructions.
There are two more manuals for this IP camera besides the quick setup guide, and there are some explanations telling us when we need each manual. |
 |
We followed the quick setup guide to install the camera in my living room, and connect it to
power and the wifi router. There’s simple connection illustration in the quick setup guide. |
 |
| Download and install EagleEyes-lite (free) to my iPhone. |
 |
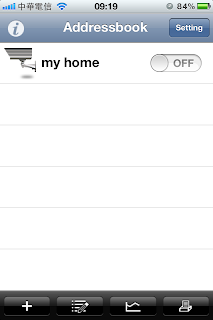
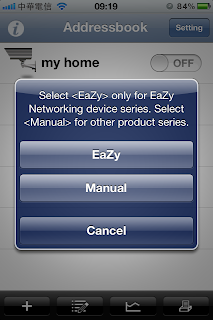
| Click “+”. |
 |
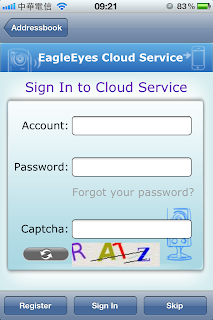
| Slide down the page and click “Local Network Search”. |
 |
| Click the IP address shown. |
And as instructed in the quick setup guide, we slid down the page and
pressed “Apply” to wait for the setup message.
Good: So far the steps are quite simple.
Bad: We waited quite a time for the setup message to show.
The status stayed “processing” really quite long enough for us to think the app was down.
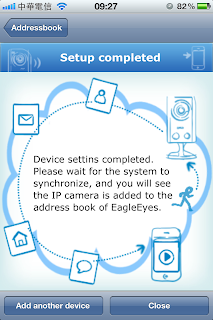
Finally we got the message “done”, and returned to the setting page automatically.
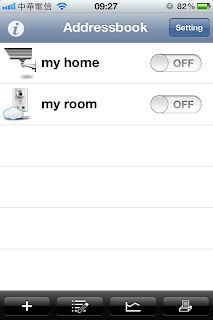
We entered “living room” as the title of the camera, and clicked “Save”.
At this moment, we noticed the two blue lights were on, which means the quick setup is completed according to the quick setup guide.
Really done? Less than 5 minutes?
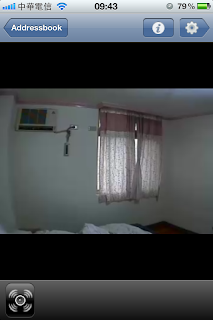
There’s a section in the quick setup guide telling us how to examine our setup. We followed the steps to switch our network mode to 3G, and tried to see our camera image.
 |
| Here’s the camera image. It worked. |
And according to the guide, if we’re successful in 3G, we’re done for the whole setup.
Good:
Really finish all setup less than 5 minutes.
Bad:
We wanted to know the meaning of each icon below, but there’s no explanation in the quick setup guide. However, there’s a note saying to visit www.eagleeyescctv.com/Demo_2.aspx (eagleeyes’s official website) for eagleeyes operation.
Why not telling us how they work in the quick setup guide directly?
But anyway, we visited the website and found the icon explanation. And we know we could press the “+” icon (slow shutter) below to see things in the dark.
 |
| Here’s the camera image when the light is off. Really dark. |
My roommate’s boyfriend stands in the middle of the camera.
Here’s the camera image each time after I click it.
It’s really getting lighter each time, and I can click it 5 times in total.
Good:
We can see things in the dark as the level is going up.
Bad:
As the video getting lighter, any movement in the video getting slower.
It seems we can’t get both fluent and clear video in this camera. Maybe we should set a mini light in the living room to compensate this, and then we don’t have to adjust the shutter level.
Now it’s time to try how Push Video works and how it’s gonna tell us something happens in my living room.
I activated this function, and returned to my iPhone desktop.
At the beginning, this function didn’t work quite smoothly.
Sometimes it worked, but sometimes we received an error message, “download failed”.
Later, we changed the mode to 3G and try again. It worked very well every time.
When we were in 3G, the message showed really in 5 seconds (in fact 2 seconds in my situation) after we walked in front of the camera. However, the same promptness didn’t show when we switched to wifi.
My roommate’s boyfriend says it’s probably related to the network bandwidth. As you can see from the picture below, our wifi signal is not strong.
Good:
Very prompt when it detects something.
Bad:
The promptness is limited to the fluency of the network.
So far the using experiences are not bad. Finishing all network setup in 5 seconds from iPhone is really convenient and very impressive since we girls do not know much about network setup. Push Video itself is what we need the most now because we can know what’s happening at home if any, and we can call the police immediately to catch the thief.
What bothers us is the lack of information about the app, EagleEyes, itself. There’s not much information about how to use EagleEyes in the package. We need to go to its official website to see the explanation of each function icon. The app interface itself is quite simple in fact, but we still hope we can know how to use this app with a document in hand.
And from the box and eagleeyes official website, we know that there’s a specific app for iPad, EagleEyesHD, and the video quality seems better than watching from iPhone.
We’ll talk about this it in my next article.
