It's been over a year since my last time to get the monitoring camera, It still works good, and my roommate and I is quite used to it.
To know why we install the camera, please read my previous post: Our new home guardian, Push Video IP camera
Last Sunday my roommate's boyfriend brought another camera from the same company as our current one. He said the company contacted him again and hoped we could help them to write another post about their new IP camera, AVN701EZ, mostly about their new feature, EaZy Networking.
And of course, we could get this camera for free as the reward. Yeah~
-------------------------------------------------------------------------------------------------------------------------------------------
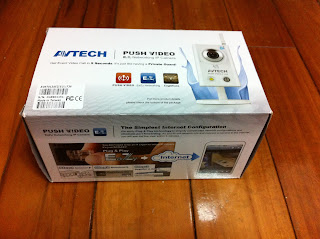 |
| Here's the camera box. |
Here's the feature description about EaZy Networking.
It seems I don't need to go over many steps and this camera is able to get online. Three steps!!!
We'll find out whether it's true or not.
 |
| Description about EaZy Networking |
And allow me to say again. This company really loves the style of putting everything on the box.
Here's the content in the box.
Basically the content looks similar as the one we are using, but this camera doesn't look like the camera picture printed on the box. We checked again, and found out that there's a small note asking you to check the product table on the bottom.
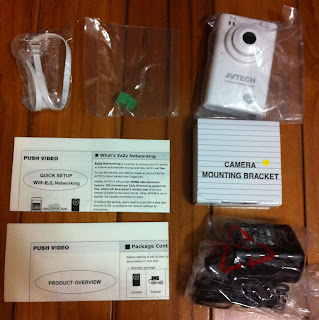 |
| Inside the box |
Here's the look of this camera after it's assembled.
Still simple and stylish. I like it!
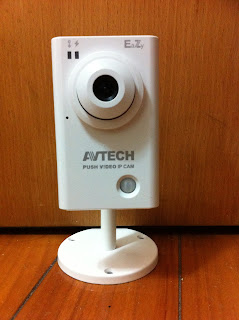 |
| Camera |
That's enough for the box. Let's move on to the highlight today: EaZy Networking!
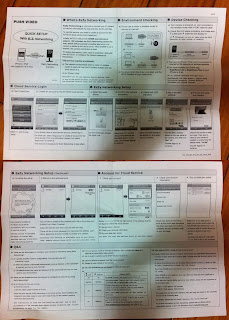 |
| Here's the description for EaZy Networking. Oh my... doesn't look easy at all! |
Therefore, we girls threw all these reading to my roommate's boyfriend, who's responsible to check if we could use the so-called "EaZy Networking" to get this camera online, and tell us what's EaZy Networking and how to work.
It turns out that EaZy Networking is not a free service, but it will give us 500MB data for free at the beginning. My roommate's boyfriend said 500MB should be enough since we don't access the camera all the time. If 500MB is up, we could buy data from EagleEyes app.
As for the installation environment, a router or wireless router is required. I think this is more flexible than the camera we're using, requiring a wireless router only for easy setup from iPhone. After all, not everyone's house has a wireless network to use. But since we already have a wireless network built in our home, there is no big difference.
The network setup started.
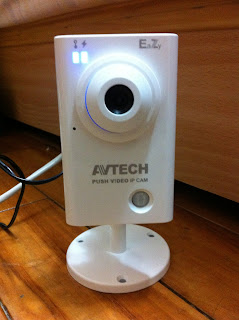 |
| Plug the camera to power, and connect it to our wireless router, as said in the quick setup. Then, wait for the two LED lights to be on. |
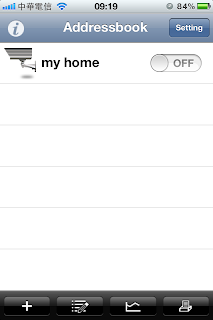 |
| Open EagleEyes, and click "+". |
EagleEyes is the mobile app used to set this camera. It could be downloaded from App Store.
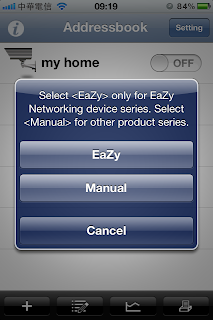 |
| Select "EaZy". |
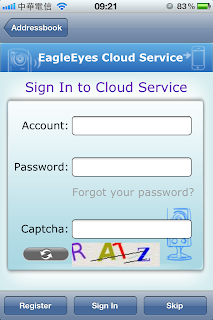 |
| Select "Register" to create an account. |
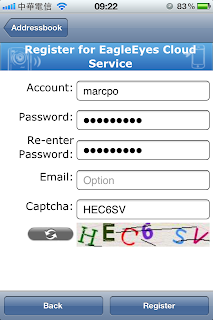 |
| Set the account name and password. |
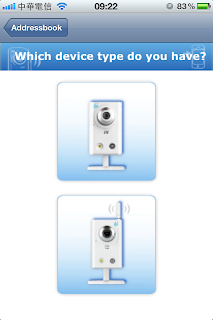 |
| Select the upper camera. |
The app will ask you to check your camera connection and the LED light status later. We went through these two steps very quickly since these two checkings were already done at the beginning.
Then, we continued to the MAC address page as follows:
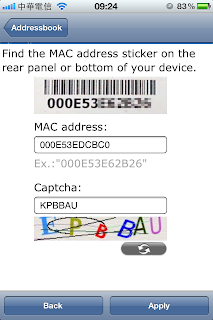 |
Key in the mac address of the camera.
As said in this page, the mac address is on the sticker of the camera. |
This page is a little bit different from the quick setup picture. "Network Type" is added, but we ignored it anyway.
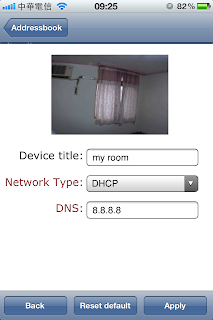 |
| Enter a name for this camera. |
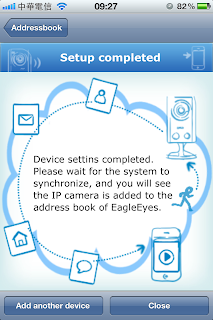 |
| Setup completed. |
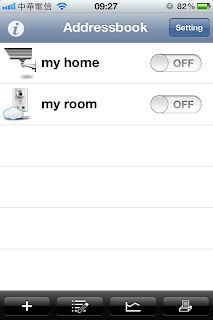 |
| "my room" is added with a cloud on the camera picture. |
"my home" is my current camera, and "my room" is the new camera just added. It seems the camera added by EaZy Networking will have a cloud icon on the camera picture.
We selected "my room" and see we can see the room. It worked. We also switched the network mode to 3G, and tried the camera again. We can see "my room" without any problem.
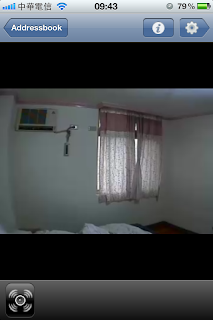 |
| My room |
We recalled the experience to install our current camera, also with iPhone. I remembered we needed to write down many numbers and wait for the camera to processing.
But this time I don't need to remember any number. All I need to do is to make sure the two LED lights are stably on, and enter the mac address. The whole process is just so quick and easy!!
And you can check how much you've used for the free data, and buy data to use when the free data is up. We'll describe on my next post.


No comments:
Post a Comment